Hi Corey!
We briefly met following your keynote presentation at Photokina. I’m an enthusiast climber who has climbed around the world: Red River Gorge, Yosemite, China, Thailand, France and the U.K.! I have access to a wide variety of photo gear through my work but haven’t perfected the art of shooting climbing at all. Do you have any tips to share? Look forward to hearing from you! Thanks a lot!
Matt
I always say that no matter what it is that you want to photograph, it really helps to choose a subject in which you are an expert—or at least an enthusiast. Having a deep understanding about what makes a subject special will inform the choices you make as a photographer. Ultimately your own unique knowledge and passion will shine through and make your pictures intimate, authentic and interesting.
To this day, climbing is still my favorite subject to photograph. I discovered climbing as a kid, and it’s actually the reason I first picked up a camera: to document my weekend adventures in the vertical world!
Because you’re a climber and a photographer, it’s worth mentioning that I believe it’s counterproductive to try to do both on any given day. If you want to go climbing that day, go climbing. But if you want to make pictures that day, commit in advance to spend your day shooting pictures. Multitasking results in mediocrity in all things, and that’s not what we’re after!
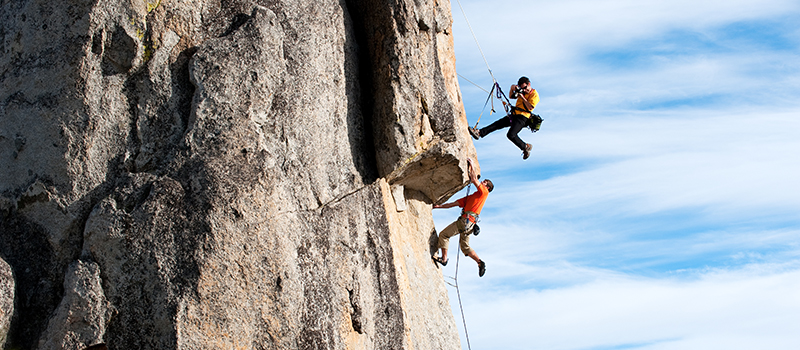
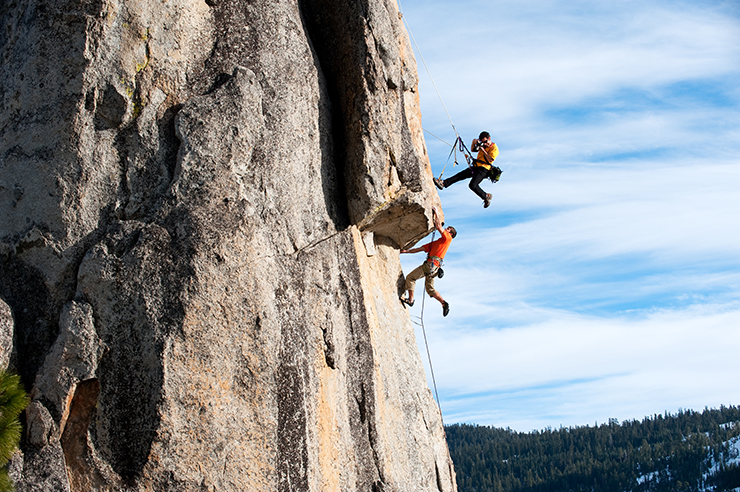
The main logistical challenge in climbing photography, of course, is understanding how to maneuver in the vertical world. Just as a scuba-diving photographer needs to know not only the fundamentals of what make great pictures, he or she must also know how to be underwater safely, the same is true with climbing photography. Know the ropes first!
A lot of my friends like to joke that it’s “Safety Third,” but in fact I believe that safety very much comes first. You need to know how to ascend and rappel; set up anchors; scramble around super sketchy terrain, and in general do whatever it takes to get yourself into a prime position. Once you’re in position and safe, only then will you be able to truly focus on your creativity.
To do this really requires fluidly maneuvering between those two different mindsets—one as a climber and the other as a photographer. When I’m getting myself into position, I am focused 100 percent on making sure I’m safe: I’m clipped into an acceptable number of anchor points, and I make sure that my rope isn’t running over any sharp edges.
Also—and this is very important—I make absolutely sure that my presence and rope-rigging doesn’t jeopardize the climber, compromise his/her goals, or really get in the way of what he/she needs to do. Communication with the climber is really key.
Once I’m safely in position, I switch to my photography mindset. I think about what lens I want, what my foreground and background will be, and what I can do to create surprising, unique photographs that best tell the story I want to tell.
After my subject is done climbing, I then switch back to the mindset of safety in order to get myself down.
With all that said, you don’t need to be on a rope to make great climbing pictures! That’s one thing I’ve really learned. Sometimes, the best shots aren’t from a rope, but are from standing on the ground or a side vantage. You can often maneuver up on a hillside and actually get that “top-down” vantage with both of your feet still planted on the ground. It’s best to assess the situation and determine your best angle. Look around and use the terrain to your advantage. You’ll be surprised by how often that means not being on a rope.
Equipment-wise, it’s best to travel light. Typically I only bring a single camera body, either a Nikon D810 or a D750. And most of the time, I’ll only have two lenses with me: a Nikon 16-35mm f/4 and a Nikon 70-200mm f/2.8. If I bring a third lens, it’ll be the Nikon 50mm f/1.4. But that’s it.
Less is more. Less time spent swapping lenses directly equates to more time spent capturing images and working the situation to its full potential.
Above all get out there, have fun and be safe!

