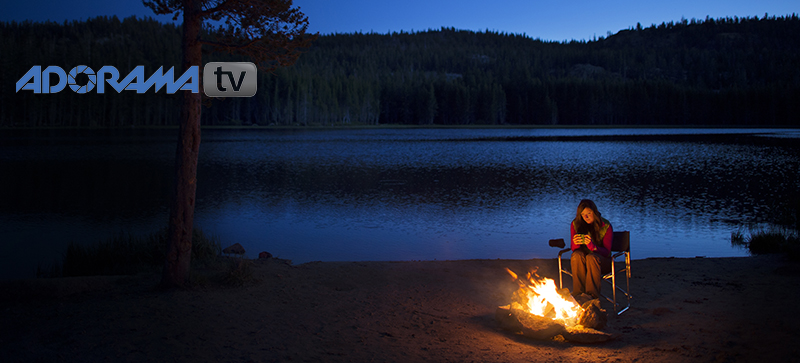
How to shoot campfire photos and how NOT to start a campfire.
Knowing how to balance a light source with the ambient light, whether that means shooting a campfire or even an evening city skyline, is an important skill set for every photographer to have. I’ve used this trick for a number of images over the years, and have written about it in various Story Behind the Image posts for this site.
As part of my ongoing tutorial series for Adorama TV, “Getting the Shot with Corey Rich,” I recently produced this Tech Tip on how to shoot a campfire photograph.
Low-light situations such as the campfire present a number of challenges for getting the right exposure so that your friends and family aren’t underexposed and the campfire, or light source, isn’t overexposed.
In this video, I am using a Nikon D4s for its ultra low-light, high-ISO sensitivity. I am also choosing one of three fast Nikkor lenses: the Nikon 50mm f/1.4G AF-S FX, the Nikon 24mm f/1.4G AF-S ED or the Nikon 85mm f/1.4G IF AF-S.
I hate being tethered to a tripod when shooting stills. I think it severely limits creativity and making those micro adjustments in composition that often mean the difference between good and great pictures. Even in this low-light situation, shooting as slow as 1/30th of a second shutter speed, I go hand-held and shoot bursts of frames to ensure that at least one of those frames is in focus.
Hope you enjoy this video and opens up a new time of day for you to go out into that magic hour of dusk, and get the shot.
For more on this topic, check out these two posts:
“Story Behind the Image: Les Dirtbags du Chamonix.”
“Story Behind the Image: Something out of Nothing.”
Bonus Material:
